How to make the right cake in the garden. Master class sweet design graduation modeling cake design treat to kindergarten master class corrugated paper
Master-class on making a gift with your own hands. Today we make a gift cake for a girl on her 4th birthday. We will collect there sweets that she loves.
If you find it difficult to choose a gift, then making such a cake will be a great way out for you. After all, it can be given not only to a child, but also to a woman, for example, by March 8 or a birthday or a man for his holiday. True, the filling of the cake will be different, according to the taste of the presented.
Gift ideas are sure to look in another article. If you want to congratulate the teacher or educator of your child, then you will find suggestions in.
To make such a gift, special skills are not required. The main thing is if you make it for a grandmother, grandfather, father, mother, teacher, educator or for other people, you can bring your children to the crafts. This is a powerful educational moment when a child participates in a common with parents. And, of course, the manufacture should be accompanied by a good mood and the desire to make a pleasant one.
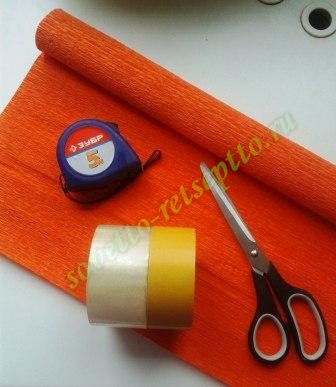
Consumables for cake:
- corrugated cardboard from unwanted boxes;
- wrapping;
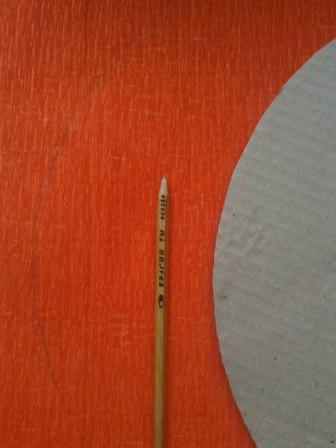
- tape measure or ruler;
- scissors;
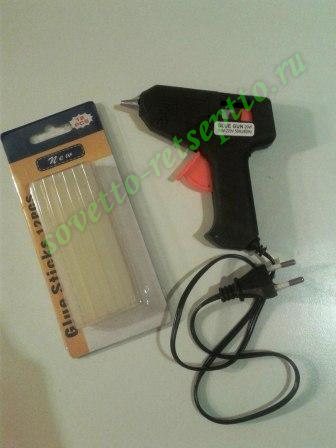
- glue;
- scotch tape - double-sided and regular;
- tapes of different widths and colors;
- products for filling the cake.
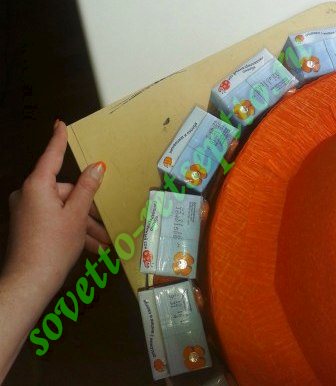
To begin with, cut out corrugated cardboard circles of the desired size. You can draw a circle with a compass or tableware that is suitable for the diameter.
Now cut 3 strips according to the diameter of the circles. The width of the strips is made so that it is higher than the used products by about 1 cm.
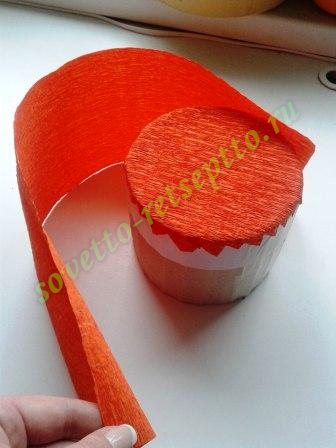
We crimp strips along the entire length so that they can be easily and neatly joined into a circle.
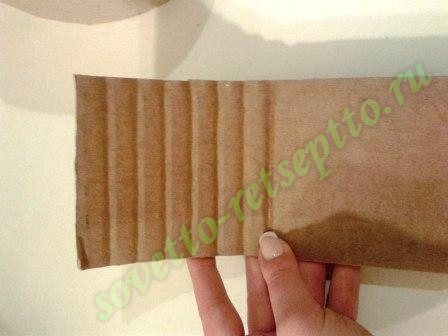
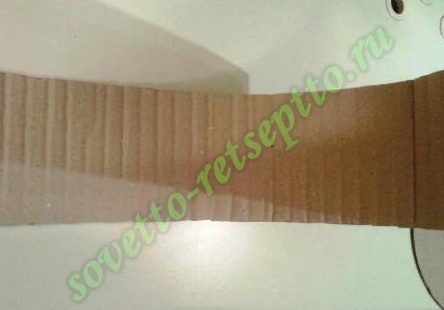
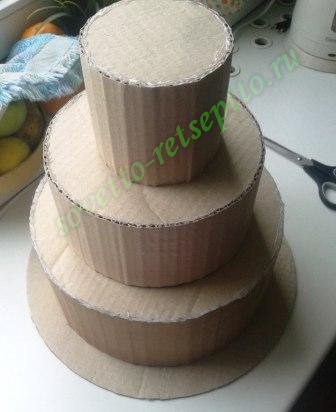
These are the three corrugated strips we should get.
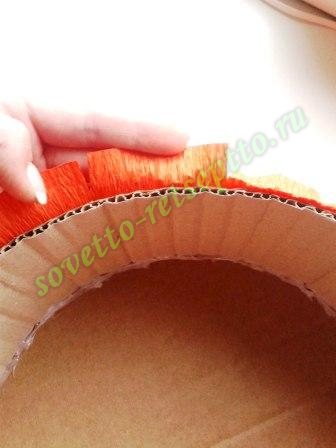
We put the corrugated part to the circle, if everything is the same, for convenience we glue the two sides with tape. If there is too much, just cut it off.

We do the same with the rest of the blanks.

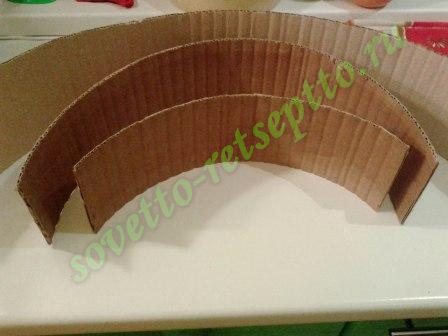
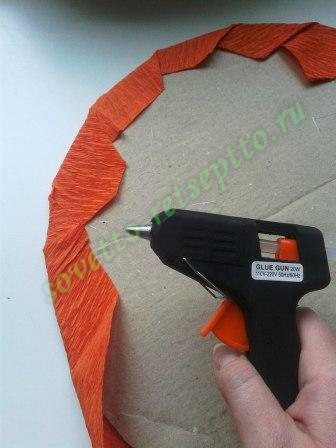
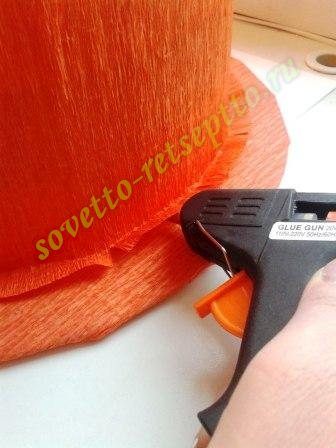
If everything turned out beautifully and neatly, you can stick it inside and out. We used a glue gun. He glues quickly and almost odorless. If your glue has a strong odor, leave the blanks in a dry ventilated room for a while. Let the smell disappear.
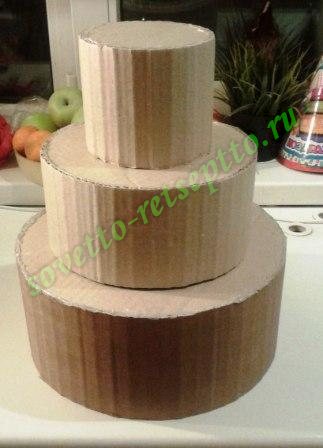
As a result, you should have this construction.
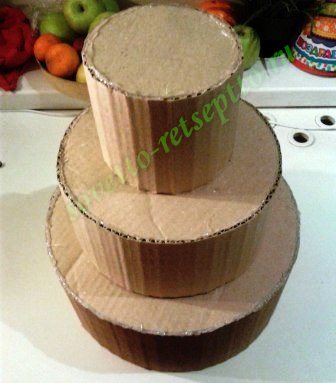
When the whole structure is ready and fitted, cut out the base in the form of a circle of even larger diameter.
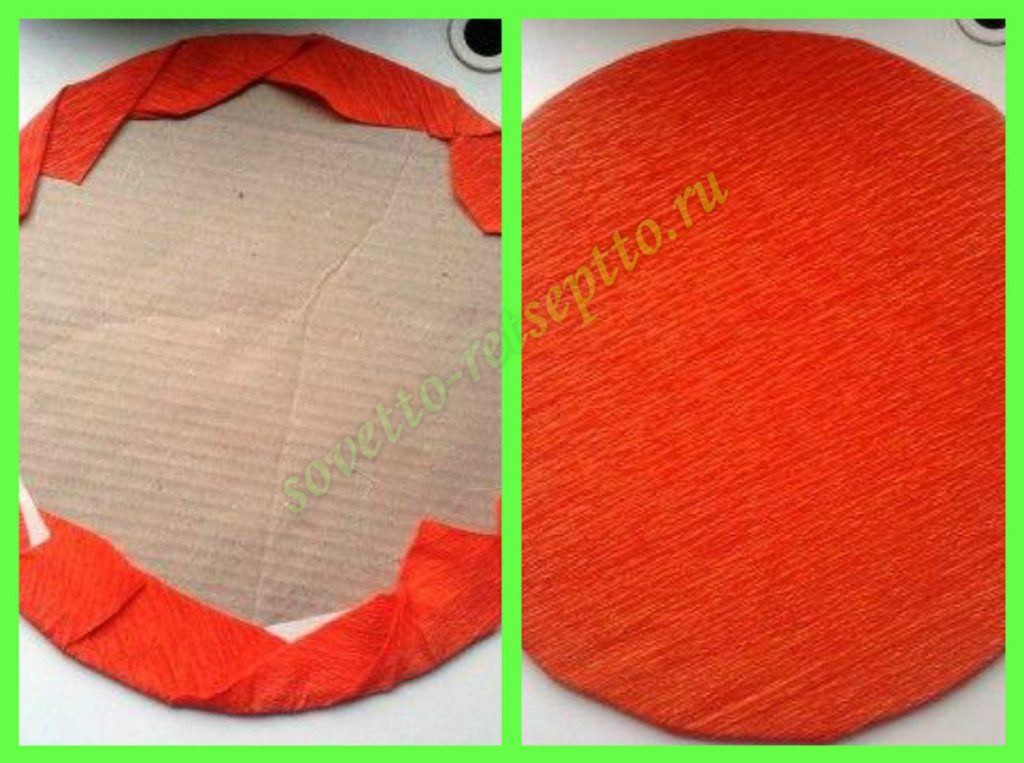
Now it is necessary to cover the entire structure with beautiful paper. You can use paper for gift wrapping or any other. We have - corrugated paper. She is soft and supple. But you need to work with it carefully - it can break.
Draw a circle around the circle for the pallet with a pencil. Pull back from the line of centimeters 6 to 7 for the allowance for the trim. And cut the circle.
In order for the paper to lie flat on the cardboard, the gateway must be incised with scissors. For convenience, we used double-sided tape to prevent the paper from moving.
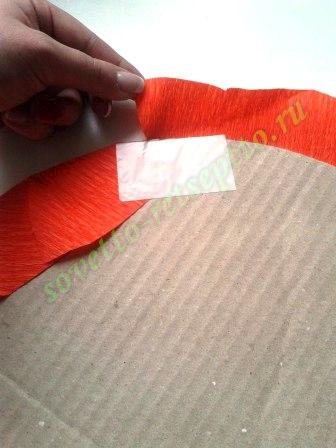
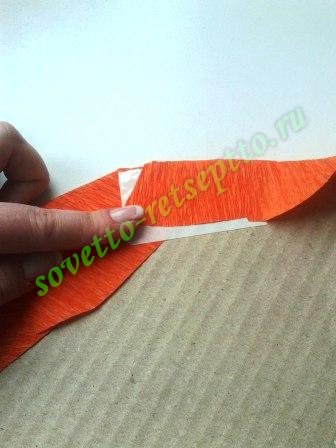
Now you can stick.
Now we need to paste over the tops of our cylinders. Cut the paper in circles with hemming allowances. We fold the resulting circle several times and cut out these cloves.
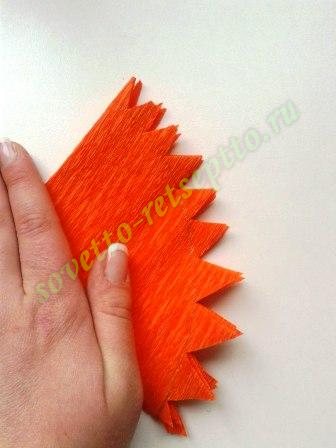
We glue.
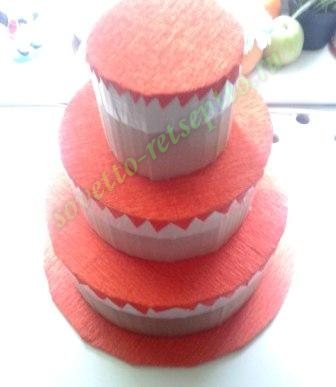
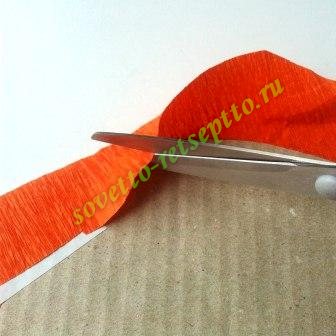
Cut paper ribbons for the barrels, not forgetting the bend allowances from below.
Cut paper from below to make it easier to glue.
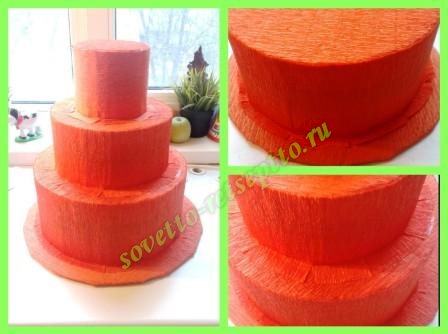
Glue the largest cylinder to the base.
We also act with the other two, sticking them on each other.
We proceed to the most pleasant stage of the design of our cake - filling products. But pre-place the entire structure on a rigid base. For example, like ours, on a sheet of plastic.
The art of combining various sweets can be mastered through simple workshops. But to really please a child or an adult is much more difficult.
Tip! Before you buy candy and plan decorations for the future of the cake, find out what the hero of the occasion likes. If you create a tasty work of art from the most favorite delicacies, the birthday boy will certainly notice and appreciate it!
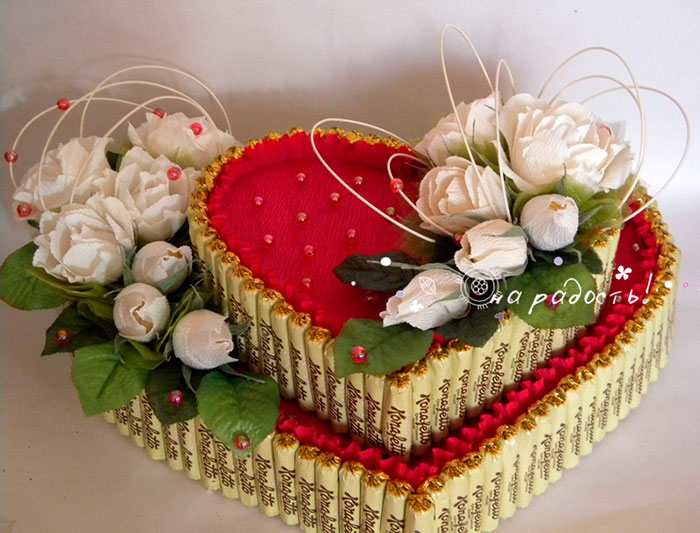
In addition to candy, it will consist of decorations, which can be used as soft toys, notebook and pen, artificial flowers, ribbons, etc.
Some types of candy cakes can be made with a hollow inside, perfect for hiding a small gift.
Stages of creating a custom dessert
In order for the product to turn out great, you must carefully prepare and purchase the following components:
- styrofoam;
- candies;
- scissors;
- corrugated paper of different colors;
- double-sided tape;
- pVA glue.
Council It is more convenient for beginners not to start from the foam base, but from any finished box. You can use a round, high box of candy. Or build something similar from cardboard, fastening it with a stapler.
Stages of action:
1. Candy must be absolutely the same size. For this it is necessary to twist their tips firmly on both sides, and bend them down.
2. Mark the foam, and cut a circle out of it. This will be the basis of our cake.
3. Select the corrugated paper that matches the shade of the candy labels. Gently paste over the entire foam circle with paper. It is necessary to close the top, bottom and sides.
4. Wait until the base is dry.
5. Apply double-sided tape to the side surface along the entire perimeter. Do not peel the top tape completely.
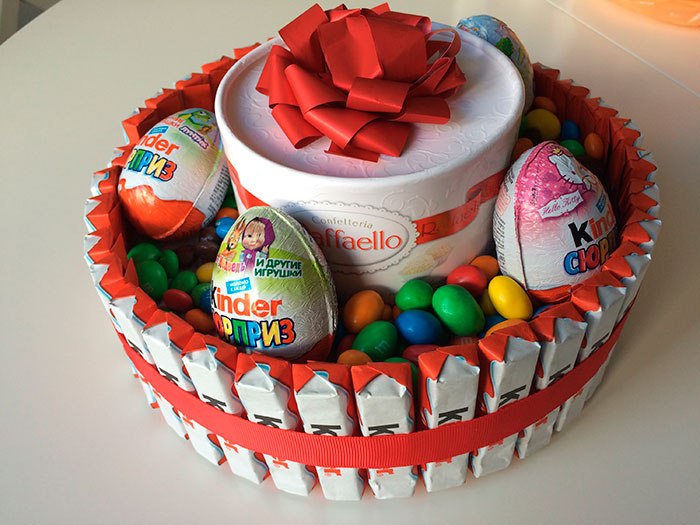
6. Gradually, like beads on a string, attach each candy to the top of the scotch. All sweets should be evenly fixed. Put the candy on the base so that they cover absolutely the entire side surface.
7. Fasten the dessert with any rubber band suitable for the base circumference. In order to mask the gum, tie a ribbon on top. If you have a thin ribbon, and a beautiful bow does not work out of it, then you can attach a special purchased bow with a stapler.
8. It remains to decorate the cake on top. For this fit any items you have.
Cake is ready! It will be an unexpected gift for any celebration and will cause sincere delight of the birthday man.
Varieties of Candy Desserts
If you have already mastered the first steps in making delicious and cute candy sweets, then you can train further. Candy can be made:
- multi-tiered cakes, consisting of several floors;
- candy stand;
- cakes on the specified principle, but with a hollow base, in which a small surprise will fit.
The children will appreciate if you add not only sweets to the unusual structure, but also chupa chups. And on top - sprinkle with small marmalades or nuts. With these crafts you can dream and embody any ideas. And thankful friends and relatives will appreciate your efforts!
Cake from sweets - video master class
Hello. Today my baby is 5 months old. And I decided to publish my first master class. My son is a kindergarten graduate, so April and May were spent in preparation for this event. I made gifts to teachers and garden workers, and I had an idea to surprise graduates, the idea was supported by parents. Found a few workshops on the Internet, I was not satisfied. And I decided to act in my own way. The manufacturing process decided to take a picture.
So, for work it is required:
1. Durable material for the bottom of the cake, such as plywood or fiberboard. In my case, it is a sandwich panel, which is used in the manufacture of PVC windows and doors.
2. Polyfoam or foam.
3. Corrugated cardboard.
4. Cardboard tube from foil or cling film.
5. Crepe paper. I used Chinese crepe paper that mimics corrugation.
6. Corrugated paper.
7. Glue. I have a titan.
8. Satin ribbons.
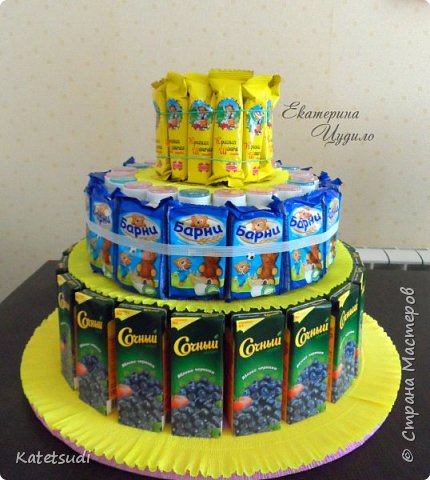
9. Themselves treats. In my case, these are juices, wafer tubes, soap bubbles, Barney cakes, chocolates and chupa-chups sweets.
The cake is designed for 20 children.
Separately, blanks, unfortunately, could not be photographed. But I will try to explain in as much detail as possible what it is and from what.
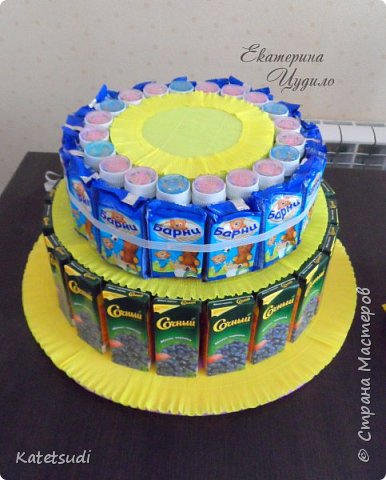
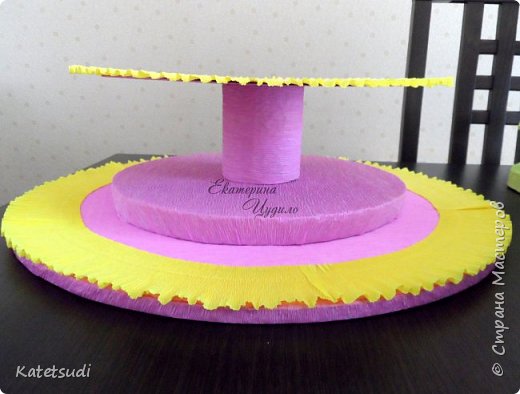
In the photo you can see 4 separate blanks of different materials, pasted over with crepe paper. All 4 blanks are glued together relative to the center. Yellow thingies made of corrugations.
Blank 1 is the bottom of the cake (diameter 40 cm), which the husband cut out from the sandwich panel. Ruffle width - 6 cm.
Blank No. 2 is cut from foam plastics. Further, I will not indicate the diameters in the figures of all blanks, since it depends on the size of those treats that you will use to make a cake. Diameter 2 of the workpiece is equal to the inner diameter of the circle of juices. Below in the photo you will understand what I wrote about it here).
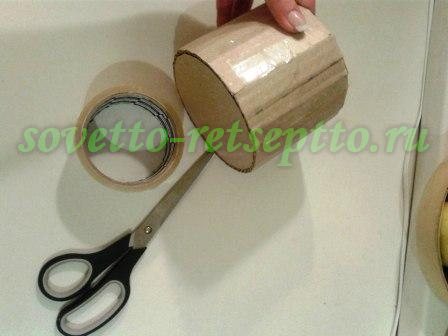
Blank No. 3 - in my case, this is a cardboard tube with a diameter of 8 cm. You can use a different diameter, but not less than 7-8 cm. The same blank can be cut out of foam plastic or use coils of adhesive tape. The height of the blanks number 2 and 3 in the sum is equal to the height of the juice box. Further on the photo everything will be clear.
Billet number 4 - a circle of corrugated cardboard, the diameter is equal to the diameter of the workpiece number 2.
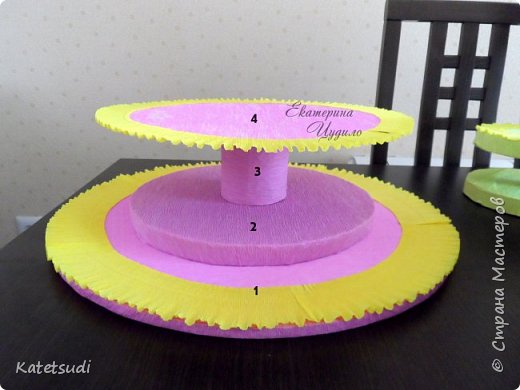
The width of the ryushi on blank No. 4 is 3.5 cm. It is glued along the very edge of the blank, so that it protrudes 3 cm.
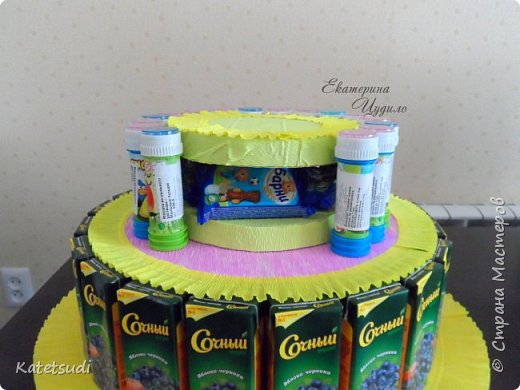
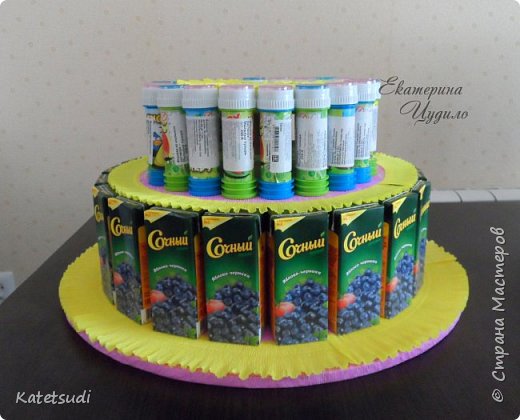
In the resulting niche we put the first treats. These are wafer rolls. All 20 pieces fit together. Thanks to this design, there are no empty seats in the cake).
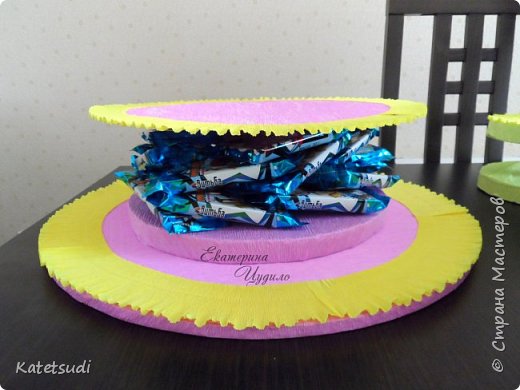
And the top ruffle covers the juice a little above. It seemed to me that it looks so beautiful).
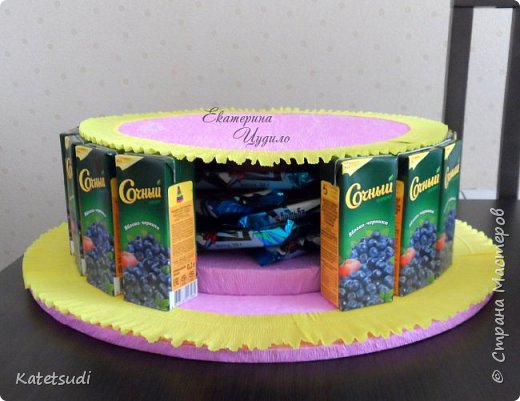
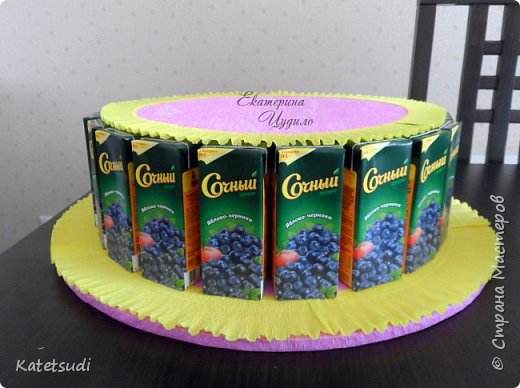
The first tier is ready. It remains only to tie the juices with a string. About this below. I don't use any scotch or glue for juices and other treats.
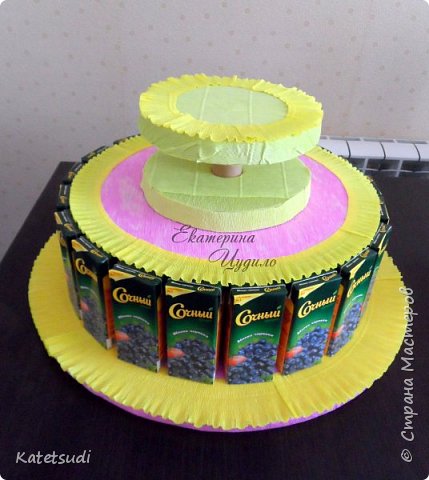
I made the cake frame in stages. Entirely the whole frame is not glued. Only after full completion with all the treats of the first tier, did she move on to the second, etc.
Soap bubbles initially had to be a separate tier, but they were pasted with unsightly stickers that cover the entire drawing. So I decided to cover them with Barney's cakes. But about everything in order.
So, in order to build a frame further, I needed an internal diameter of a circle of soap bubbles. Putting the bubbles in a circle, I measured it.
Here again you see 3 separate blanks that are glued together between themselves and with the lower tier. 5 and 7, the workpiece is glued with residues of the corrugations.
The diameter of blanks No. 5 and 7 is equal to the internal diameter of the circle of bubbles. Blank 6 - a piece of cardboard tube that is inserted and glued into 5 and 7 blanks. The height of all blanks in the sum is equal to the height of the bubble jar.
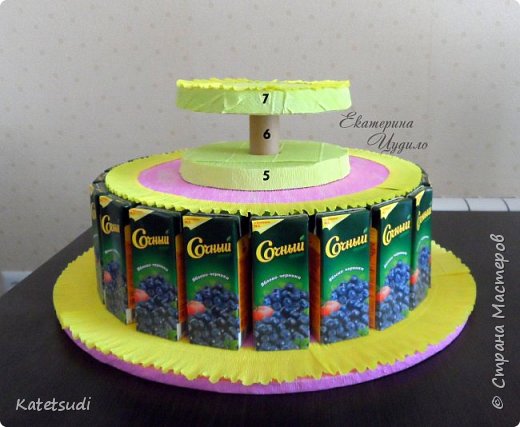
Blank 7 is decorated with a ruff 3.5-4 cm wide, this time the edge of the ruffles coincides with the edge 7 of the blank.
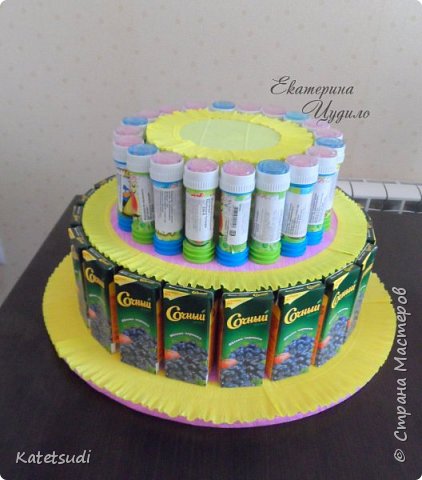
This is why the second secret niche came in handy. There I put 4 barney, which did not fit outside.